Nail Art & Nail Stamping
May 23rd, 2012 by Lior
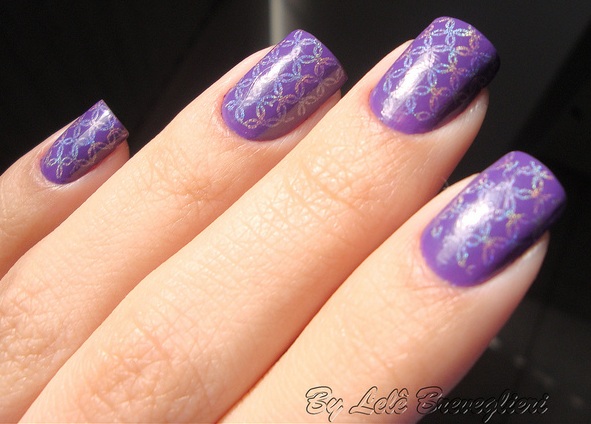
Image by Lelê Breveglieri
I remember when I was little I used to look at pretty nail art with absolute awe. I would wonder how these artistically talented ladies managed to draw such beautifully intricate patterns and designs on their nails and I silently resolved to one day find out how they do it so that I could learn how to make such gorgeous nail art myself.
Fast-forward years ahead and now I am writing this blog post on one of the secrets of pretty nail art: Nail stamping.
Equipment you’ll need for nail art stamping
There’s a brand called Konad which makes beautiful nail art stamping kits for you to try at home which really gets a professional salon-finish.
You can buy a full nail stamping kit or buy the parts separately. You’ll need:
a.) little nail art image plates that have designs on them (e.g. crackled effect, floral patterns, leopard print etc.). They usually look something like this:
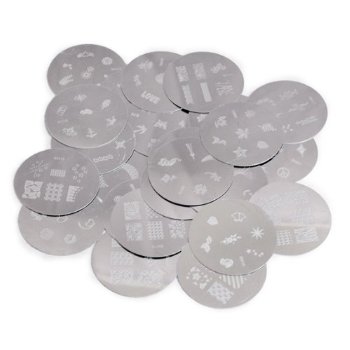
A few good nail plate kits include:
– Bundle Monster nail art image plates,
– Red Angel nail art image plates
– Konad nail art image plates like this one or this one.
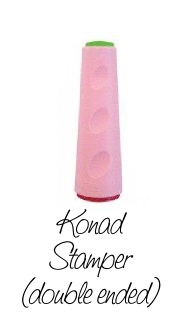
b.) a stamper
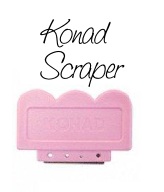
c.) a “scraper” or “swiper”
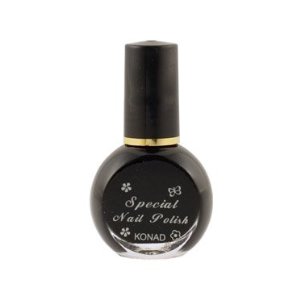
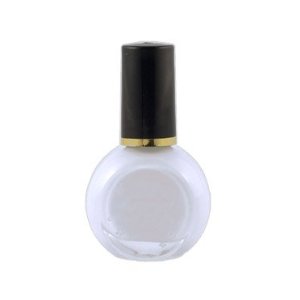
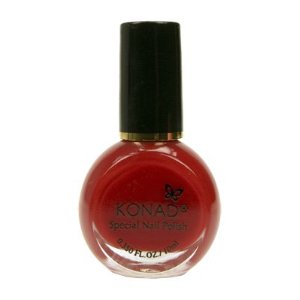
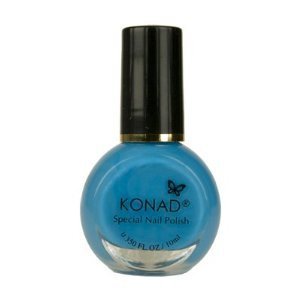
d.) a bottle of “Konad special nail polish” for stamping (it’s usually black or white but you can get lots of colors).
How to do your own nail stamping
Here is a little “how to” guide for nail stamping. Make sure you work quite fast so that the nail polish doesn’t dry before you get stamping.
- Paint over the design you want on the plate with the special nail polish. Make sure it’s well coated so that it will stamp well.
- The kits usually come with a device called a “swiper” or “scraper”. Swipe it over the design on the plate to remove any excess nail polish. This will help you get a clean transference of the design onto your stamper. You know you’ve swiped it correctly once you can see the design clearly (not obscured in areas by nail polish). After the swipe the thin layer of nail polish dries quite quickly so make sure you do the next steps as quickly as you can.
- Next take the nail stamper and press it firmly into the newly painted design on the image plate. Make sure you apply a lot of pressure to get a good imprint of the whole design onto the stamper. You can check out the way it looks on the nail stamp to make sure you’ve got it right before going onto the next step.
- Take the stamper and apply it on your ready nail with a gentle rolling action across your nail.
That’s it! The design should now be transferred onto your nail for you to admire and enjoy! To help it last longer you can apply a light Konad top coat over the stamp design. Before applying the top coat, ensure the stamp is dry enough that it doesn’t smudge. You can speed up the process by soaking your nails in cold water for a few seconds and letting them dry before adding the top coat.
It can take a little bit of practice to get the stamp looking just right, so if you don’t get it first time round, try again and you’ll get there!
If you want to see how it works in action, here is a great youtube video that shows you the whole process of using one of these kits.
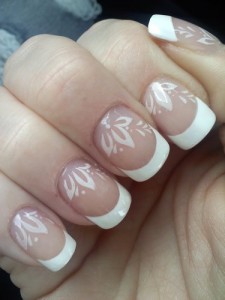
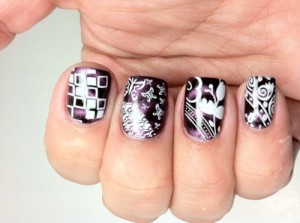
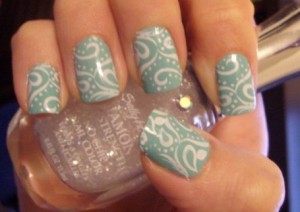
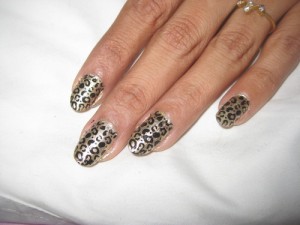
Check out some of the pretty nail art people have made with nail stamping:



 1 Comment
 Leave a comment
Posted on August 15th, 2012 @ 06:07 | hayley said:
Thanks for using my picture on you website!